Posts Tagged ‘quick updo’

Knotted Updo

Written by: Denise Zingale Date of published: . Posted in Blow-dry Hairstyling, fall hairstyles, Fashion, Holiday Hairstyles, make-overs, Spring hairstyles, Summer hairstyles, Tips, Uncategorized, Up-do's, Winter Hair Care, Women's Hairstyles

By: Denise Zingale / D’MAZ Lifestyle Salon (216) 292-HAIR (4247)

This Knotted Updo is simple to execute and is perfect for day or night. Wear it as a sleek pony, or pin it up for a casual updo.

Step-by-step tutorial is below. (Click on a picture for larger view)

Knotted Updo1Knotted Updo2Knotted Updo3


Knotted Updo4Knotted Updo5KNotted Updo6


Steps:

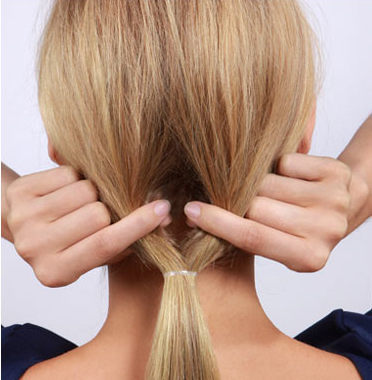
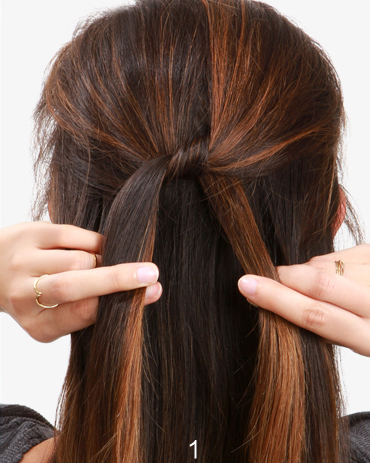
1. Divide hair at the crown of the head into two even sections, then tie into a simple knot.

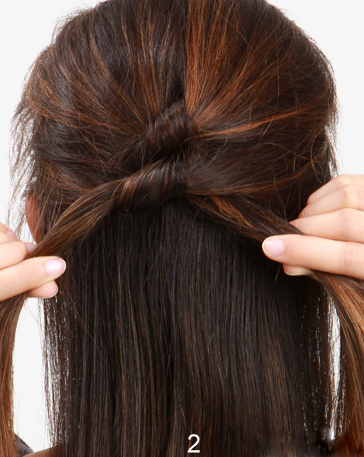
2. Add hair to each side of the knot (as you would doing a french braid) then tie into another knot below the first.

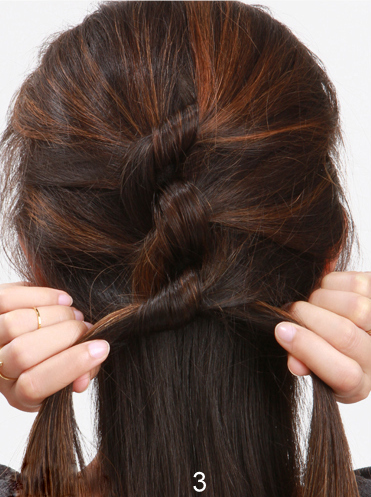
3. Repeat previous step for a third section, pulling hair from each side.

4. Use the remaining amount of hair for the fourth and final knot.

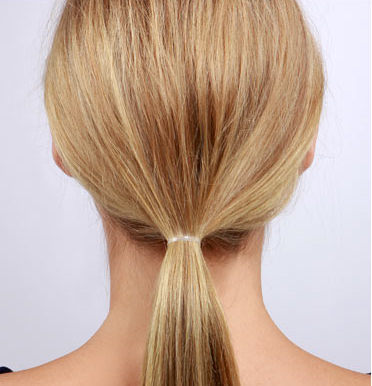
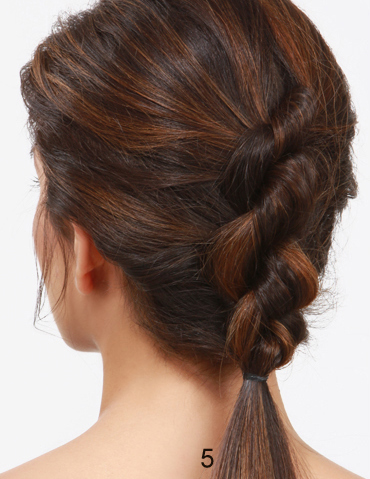
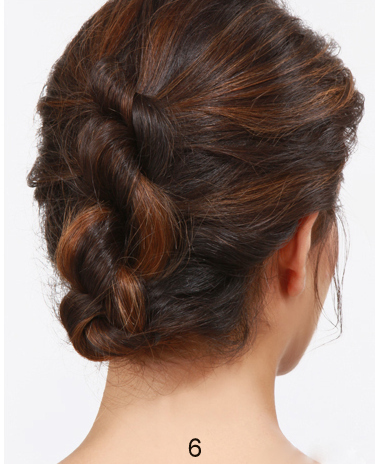
5. Fasten the bottom with an elastic band. You can either leave the style as a low ponytail or (6) tuck the hair up and underneath the knots with bobby pins to create an updo.

Learn How to Make The Celtic Knot Hairstyle »


Share

Rolled Up-do

Written by: Denise Zingale Date of published: . Posted in fall hairstyles, Fashion, hair texture, Holiday Hairstyles, Tips, Uncategorized, Up-do's, Women's Hairstyles

By, Denise Zingale Travis / D’MAZ Lifestyle Salon (216) 292-HAIR (4247)

Need to get ready quickly or maybe you’re looking for a new look for a Holiday dinner or party ~ this Rolled Up-do may be just the thing!

This chic but casual look is simple to create just follow the steps below.

1. Begin with a loose, low ponytail.            2. Part hair above the hair-tie.           3. Pull pony up and through into a topsy.

Rolled Updo1Rolled Updo2Rolled Updo3


4. Repeat previous step into another topsy.

Rolled Updo4Rolled Updo5
5. Use your index finger and wrap another topsy to create the roll.


6. Continue to roll until you run out of ponytail.         7. Fasten under the roll with bobby pins until it feels secure.

Rolled Updo7Rolled Updo7Rolled Updo8


To achieve this look on shorter hair, skip step 4 and just wrap the topsy tail around your finger once, then use extra bobby pins to fasten any shorter pieces into the roll. If you have curly hair, follow the same steps – your final look will just be more tousled.

Share